Saturday, 26 April 2014

Abstract Nails with Tutorial!

Hey guys! Last night I was trying to figure out what to do on my nails. I went though the possibility of doing my favourite bags design (which I will probably do later on) or things people have asked me to do, but I wasn't feeling it I guess. Then I reverted to google searching art to give me inspiration. I decided I wanted to do a mixture of circles and prime colours (kinda a circle version of Piet Mondrian's compositions). 


I really like them, but I a little bit regretting my decision on my index finger to colour red down the middle, in hindsight I think I probably should have kept it the neutral colour, but oh well... its a little different.
I also decided to take photos as I was painting my nails so I have a full tutorial with photos instead of my little drawings! Though I did forget to take a photo of just the base colour... oops. 


Okay, so what I didn't take a picture of is how my nails started with 2 coats of a neutral colour. I will list all the polishes I used down below.
  1. Paint curved lines and circles with a thin striping brush and black polish. I did these pretty randomly, but I found it looked better when there weren't too many lines (I think i may have gotten a little carries away with my index finger...
  2. Start colouring in the sections that you have made. I liked to keep the long sections in the middle neutral and fill out the more circular sections.
  3. Continue filling out the sections until you think it looks good. You could have put more colours in here instead of repeating colours, I was just scared that I would choose the wrong colours and screw it up...
  4. Go over the black lines again so they are more solid and even
  5. Clean up all the excess polish on your fingers
  6. After you let them dry, go over in your favourite top coat!
I tend to clean up before I put my top coat on... I don't know if this is normal, but I find it easier and it also makes it quicker for me, but you can do it whenever!

The polishes I used were:

OPI My Vampire is Buff (Neutral)
China Glaze High Hopes (red)

China Glaze Liquid Leather (black)
China Glaze Man Hunt (blue)
China Glaze Happy Go Lucky (yellow)

See you guys next time!

Wednesday, 23 April 2014

The Very Hungry Caterpillar nails!

Hey guys, today I have some super exciting nails to show you... well super exciting to me at least! These nails were so much fun to create, and I had a good excuse to look up the pretty pictures of one of my favourite children's books! 


I also did my other hand with the other foods that he eats but I seem to have forgotten to take a picture of it! :( 

I used a whole bunch of polishes for this one! 

Base:
OPI My Vampire is Buff (bone colour)

Caterpillar:
China Glaze Starboard (dark green)
China Glaze Four Leaf Clover (blue-ish green)
OPI Greenwich Village (medium green)China Glaze Def Defying (apple green)
China Glaze High Hopes (pinkish red)
OPI Decades of Shades (Brown)
China Glaze Happy Go Lucky (yellow)
China Glaze Liquid Leather (black)

Lollipop:
OPI Decades of Shades (Brown)
China Glaze Hanging in the Balance (blue)
China Glaze Happy Go Lucky (yellow)

Pie:
China Glaze Desert Sun (caramel brown)
OPI Decades of Shades (brown)
China Glaze Seduce Me (purple-red)
China Glaze High Hopes (red-pink)
China Glaze Heli-yum (pink)

Cupcake:
China Glaze Desert Sun (caramel brown)
OPI Decades of Shades (brown)
China Glaze Hanging in the Balance (blue)
China Glaze Snow (white) - mixed with blue

Watermelon:
China Glaze Starboard (green)
China Glaze High Hopes (red-pink)
China Glaze Liquid Leather (black)

wow... that was a lot of polish... I didn't realise until just then...
Let me know what you guys think! bye

Saturday, 19 April 2014

Alien Nails!

Hey guys, I have some nails today that were requested by my friend. He wanted aliens and spaceships, so I did alien heads and UFOs... same difference right? For these I didn't really know what I wanted to do for the UFO, though I did want it to look like a typical alien spacecraft. My first try I started with a metallic base for my UFO, but it was a little... harsh? I don't know, it just didn't look right. But then again I have a tendency to only use cremes in my nail art, and I was convinced that this needed some metallic spacey-ness... anyway, Here they are!


The polishes I used today were:
Base:
China Glaze Snow (white) (1 coat)
China Glaze White on White (white) (1 coat)

Aliens:
China Glaze Def Defying (green)
China Glaze Liquid Leather (black)

UFOs:
China Glaze Recycle (grey)
China Glaze Icicle (silver)
China Glaze Liquid Leather (black)
China Glaze Metallic Muse (metallic teal)

I also made a pictorial so you guys can see how they were made!


I hope you guys like these, they were pretty fun to design and paint! See you next time! :-)

Sunday, 13 April 2014

Easter Nails

Hey Guys, its rainy and gross today, so I decided to do some happy nails! Its Easter soon, which is super exciting, who doesn't love chocolate right?! So I decided to do a set of themed nails. As you might be able to see, I have been enjoying doing small repeating patterns, so I tried to do my Easter nails with the same sort of idea.


Also, I hope you like my socks. My friend bought them for me as she doesn't think I eat enough vegetables, so these help right? :-P
For these nails I started with a white base and added the details with a dotting tool and a very thin striper.
The polishes I used were:

Base:


China glaze snow and China glaze white on white (white)
Chicks:
China glaze happy go lucky (bright yellow)
OPI atomic orange (Orange)
China glaze liquid leather (Black)
Eggs:
China glaze lemon fizz (light yellow)
China glaze peachy keen (light orange/peach)
China glaze re-fresh mint (mint green)
China glaze kinetic candy (light blue)
China glaze sweet hook (light purple)


I have also included some photos of Easter nails I did last year. Sorry for the quality of the photos.. I clearly hadn't heard of sun before. 
The first set of Easter nails are just a mash up of a bunch of designs I had seen around the internet. I did have major troubles with the chevrons though, and still I am never very confident doing them, but maybe I will experiment a little more now with them and try to improve!


These second nails are my version of Chalkboard Nails' Easter Mix-up. These were a cool, fun and bright take on the usually pastel Easter nails, and were so fun to wear!


Hope you guys have a great Easter, and I would love to see any cool Easter inspired designs you have tried! :)

Saturday, 12 April 2014

Pineapple Nails and pictorial

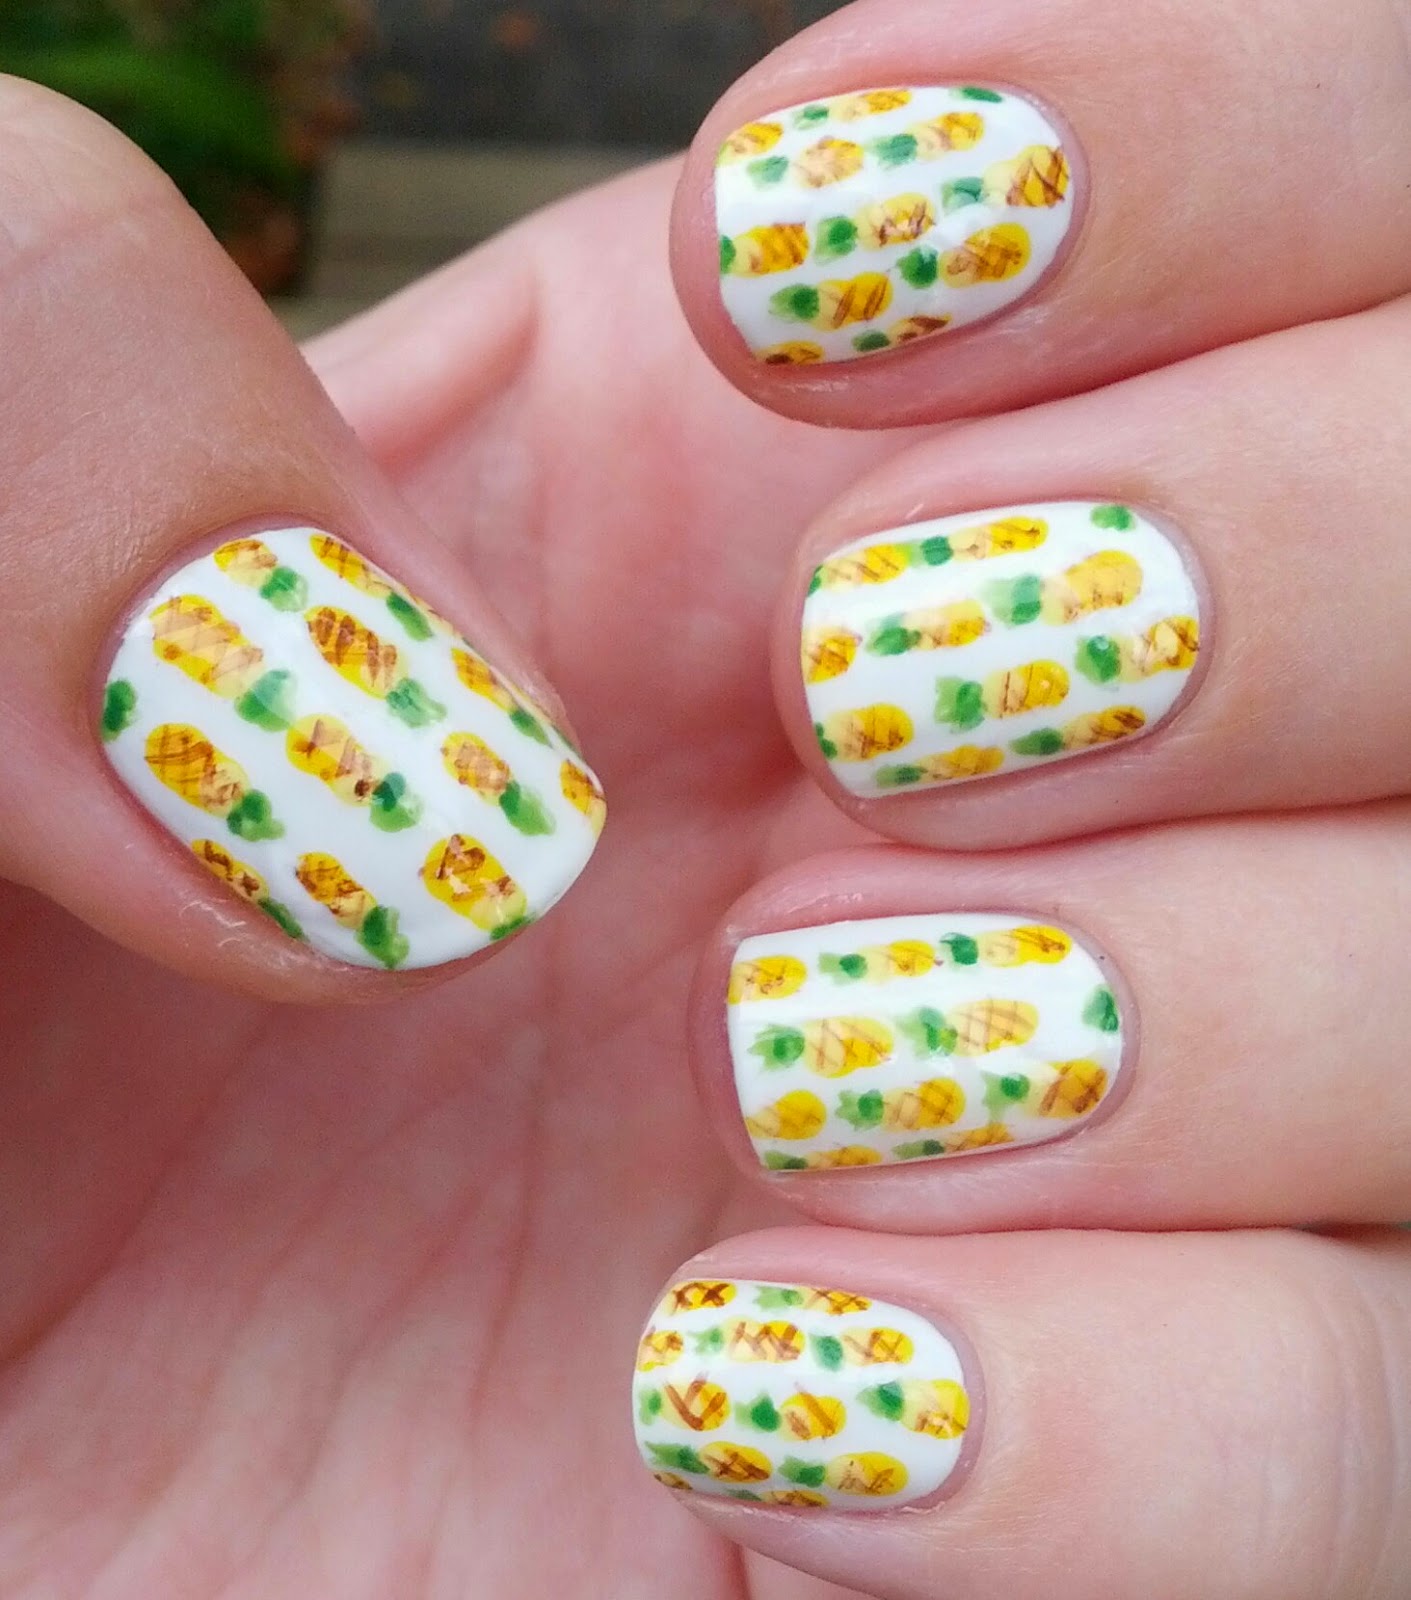
Hey guys, today I am going to show you a set of nails I did a couple of months ago. These are some of my favourite nails I did over the summer. I have always liked the look of a small repeated pattern, and due to all the fresh fruit around I decided to do a pineapple pattern!

Left Hand


Right Hand
My right hand, as you can see, was considerably less detailed than my left, mainly due to laziness. Being right handed, it becomes very time consuming to do such detailed designs on my right hand as well, so sometimes I cut corners and do a simpler, related design on my right hand.
I have made another pictorial for this design to show you guys how I did this nail art. 


The polishes I used were 
China Glaze Snow (white)
China Glaze Lemon Fizz (light yellow)
China Glaze Happy Go Lucky (yellow)
China Glaze Gaga For Green (green)
China Glaze StarBoard (dark green)

I also used a medium sized dotting tool and a striping brush

Hope you guys like them!

Monday, 7 April 2014

Disney Inspired Nails

Hey guys, are you ready for some more nail art?! me too! (yes, I assumed you said yes!) These are some nails I did about 2 weeks ago, I was wondering what to paint my nails this time and I was like, how about cartoon characters?! I thought through, with the help of google, all different characters/groups of characters to do. I have wanted to do a Disney nails for a while now but I had my mind set on doing the princesses, but kept putting it off because they were intricate, and I struggle to draw faces... then it came to me! The good old mickey and friends characters! 

I decided on Mickey, Minnie, Donald, Daisy, and after tossing up between Goofy and Pluto, I finally went with Goofy! I love these nails! Though they took beyond forever! Probably about 2 hours, though I did do both my left and right hands this time around, pretty exciting. 


I have decided that I will make a pictorial for you guys to show you how I did these.

There you go! I had fun doing these! I'd love to know if anyone else has tried Disney nails?! How did they turn out for you?


Saturday, 5 April 2014

First Post and geometric fluoro nails :)

Hey everyone, or rather, anyone... I have decided to start this site as I love painting my nails and I think this is a great place to document them. At the moment I have most of my creations on my Instagram account (stephsnails) but I think this is probably a better way to give a little bit of background and talk about them a little bit more. Also, as a note, I apologise for the picture quality, most of my pictures I take with my phone...

Anyway, that's enough of an intro to my blogging so i will start with the nail art I have on now!


When I sat down to do my nails I had no idea what I was going to do. I had recently purchased OPI Did you 'ear about Van Gogh? and I hadn't used it yet so i decided whatever I was going to do I should use it as a base. I actually tried to do a completely neutral coloured mani with a taupe and an off white but that didn't turn out so well so I tried something different. 

For these is started blocking off sections using black (China Glaze Liquid Leather) a little bit randomly, trying to make none the same as another finger. The ring finger I got a little carried away and tried to make it a little more on an accent nail. I then filled in the other bits with with a fluoro coral (China Glaze Flip Flop Fantasy). 


I then topped it all off with my favourite top coat (CND Air Dry). I forgot to add, I also use CND Stickey as my base coat. 

Thats all for now, I am hoping to update at least once a week (maybe more often during the beginning as I have quite a bit of old nail art to post built up) so I will see you later!

As a side note, I would love to hear from anyone who has come across my blog so please say hello :)